This guide will walk you through the process of adding a new user in the Timetera Cloud system. Please follow each step carefully to ensure all necessary information is entered correctly.
Step 1: Log in to the System
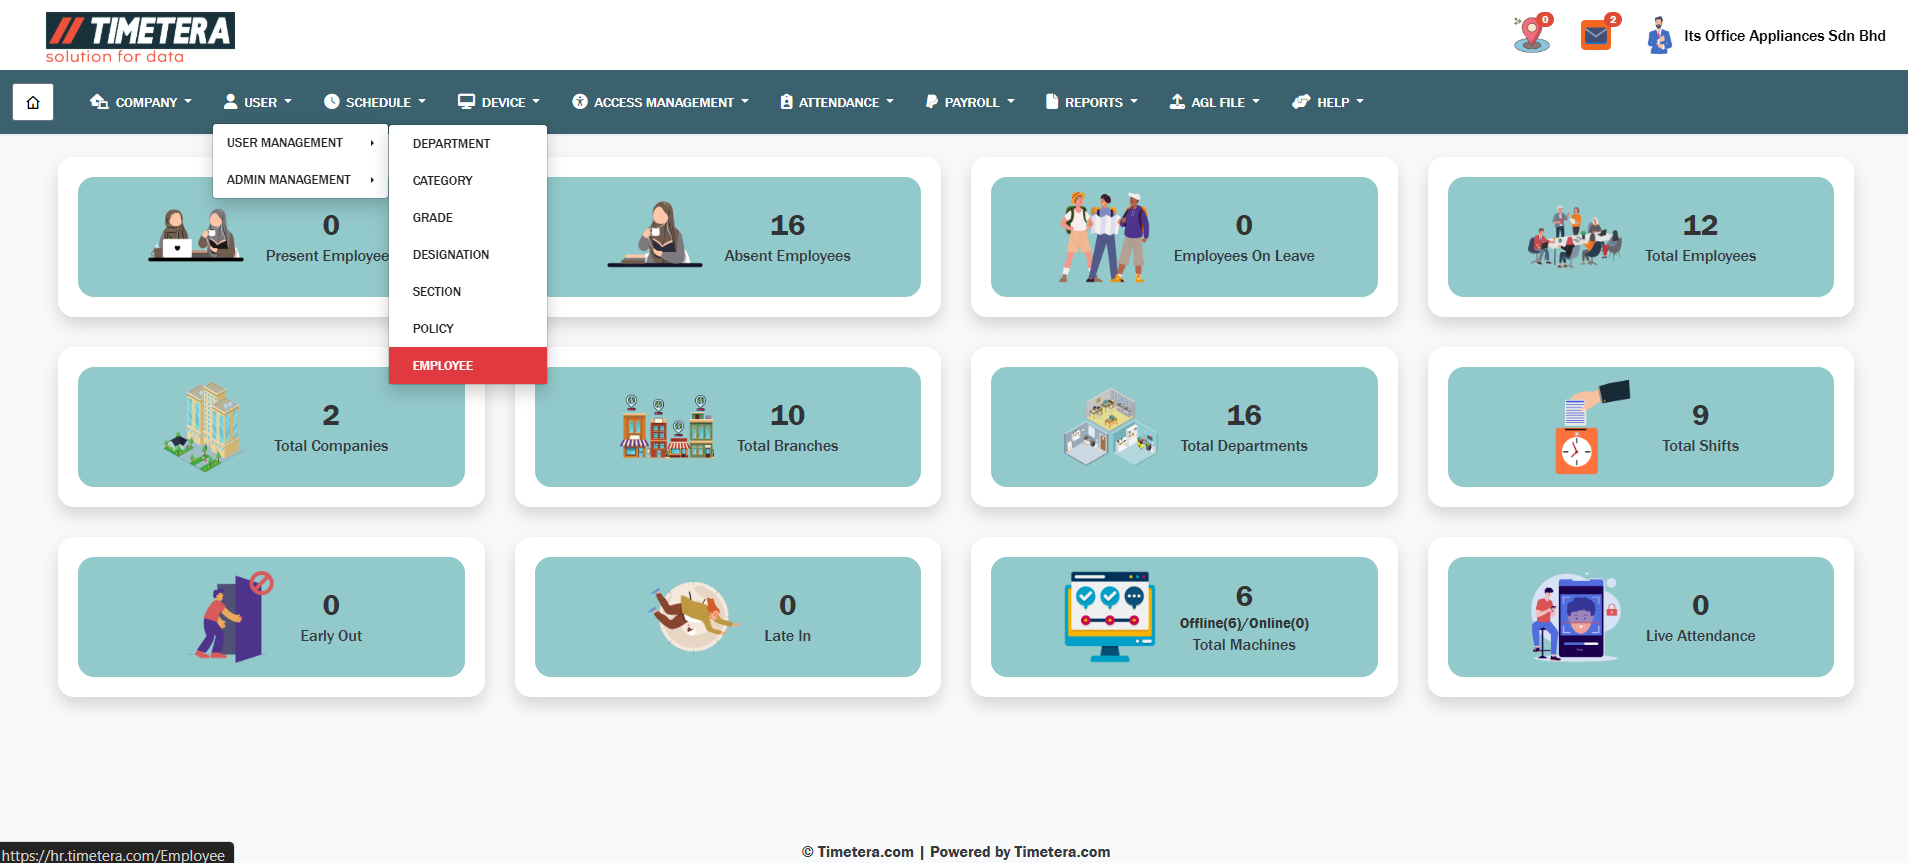
After logging in, you will be directed to the Home Page. This is your starting point for all navigation within the system.

Step 2: Access the User Management Section
From the main menu, navigate to USER → USER MANAGEMENT → EMPLOYEE. This will take you to the User Page, where you can view a complete list of all users within your company.
Step 3: Start Adding a New User
On the User Page, click the “Add” button located at the top right corner to begin adding a new user.

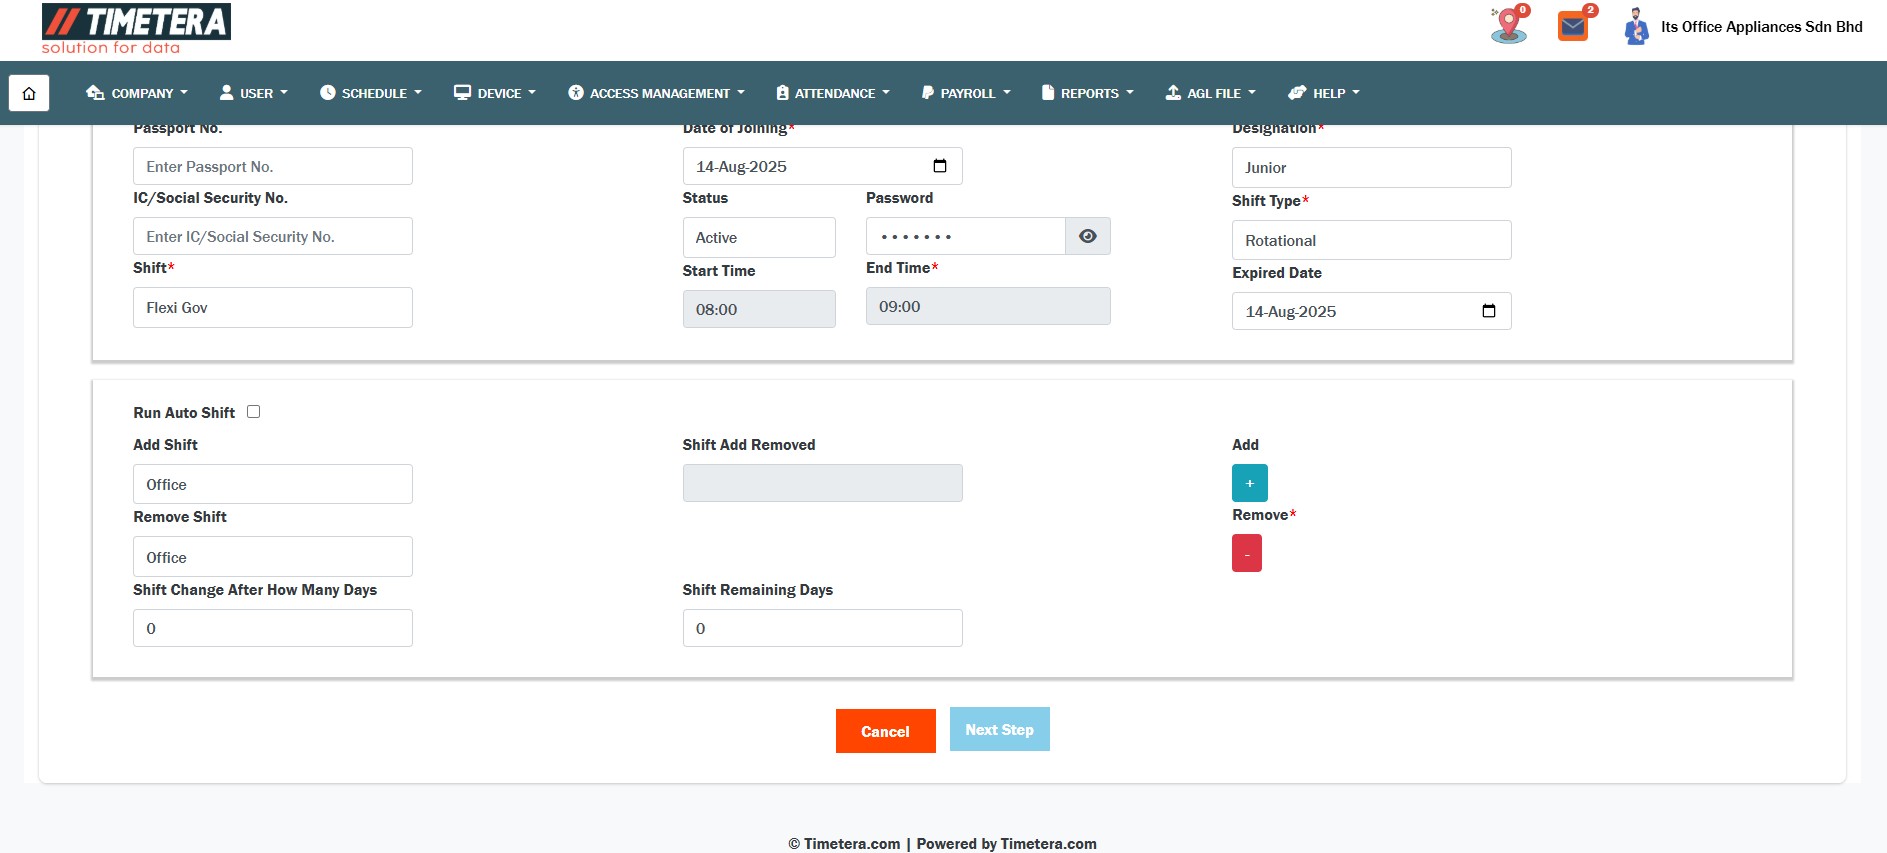
Step 4: Fill in User Information
Complete all required fields in the form:
- Fields marked with a red asterisk (*) are mandatory.
- User ID cannot be changed after it is saved.
- Employee ID is typically used for linking to the payroll system. Once all required fields are filled, click Next Step to proceed.
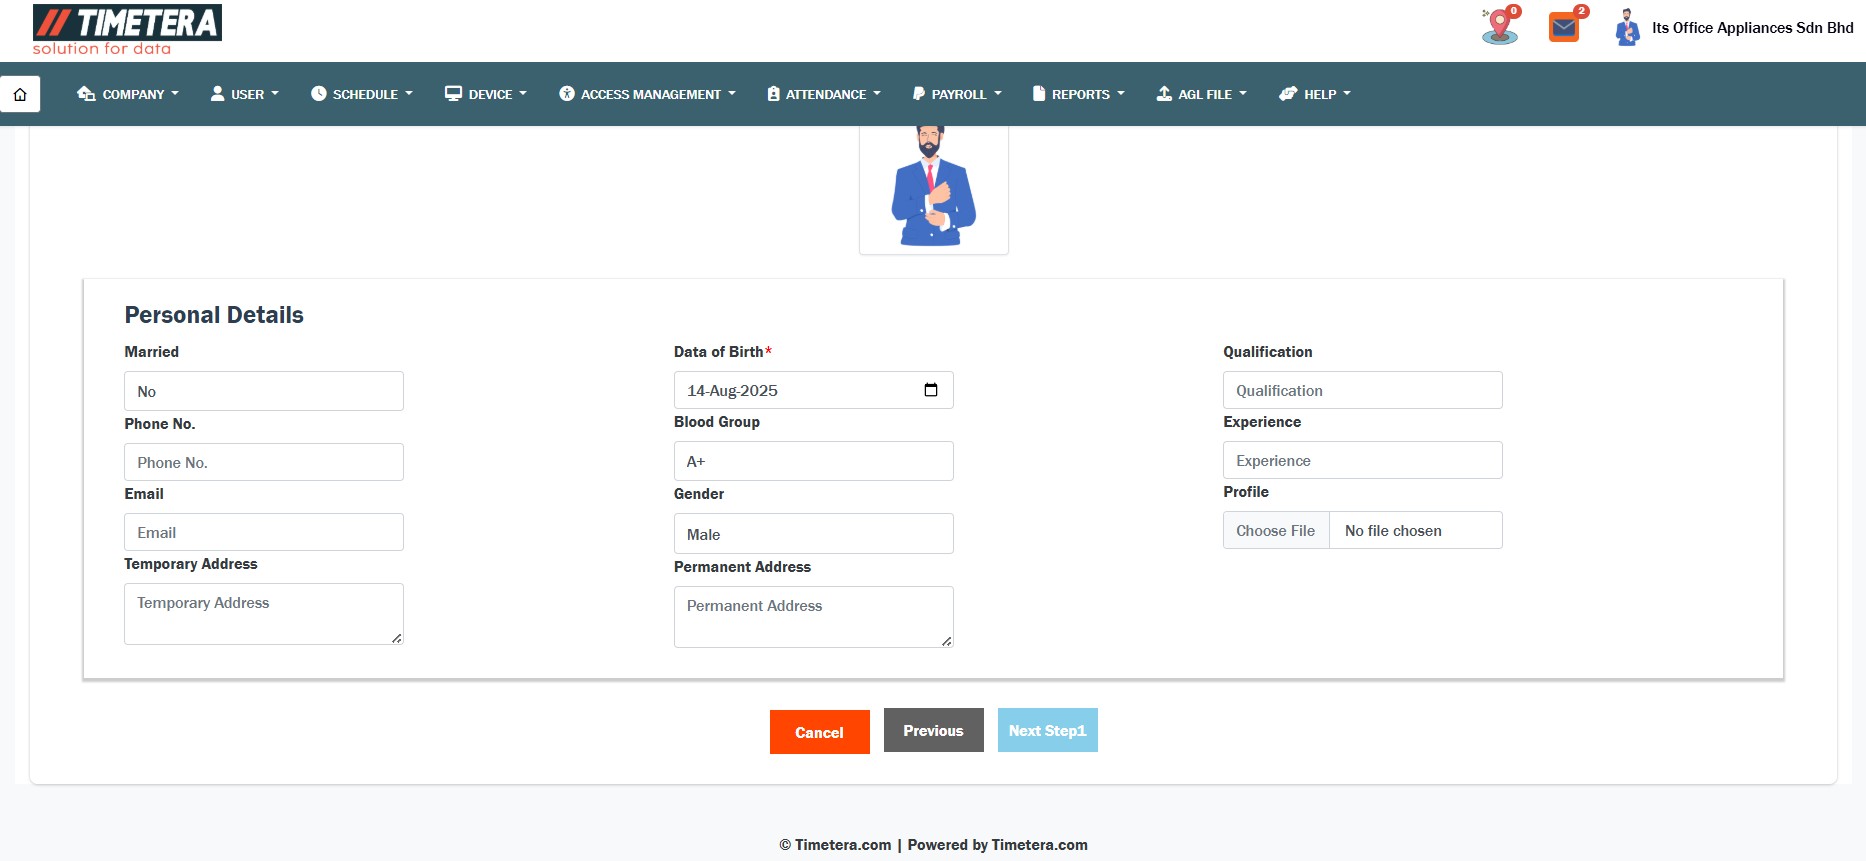
Step 5: Enter Personal Details
Fill in the user’s personal information on the Personal Details page, then click Next Step to continue.
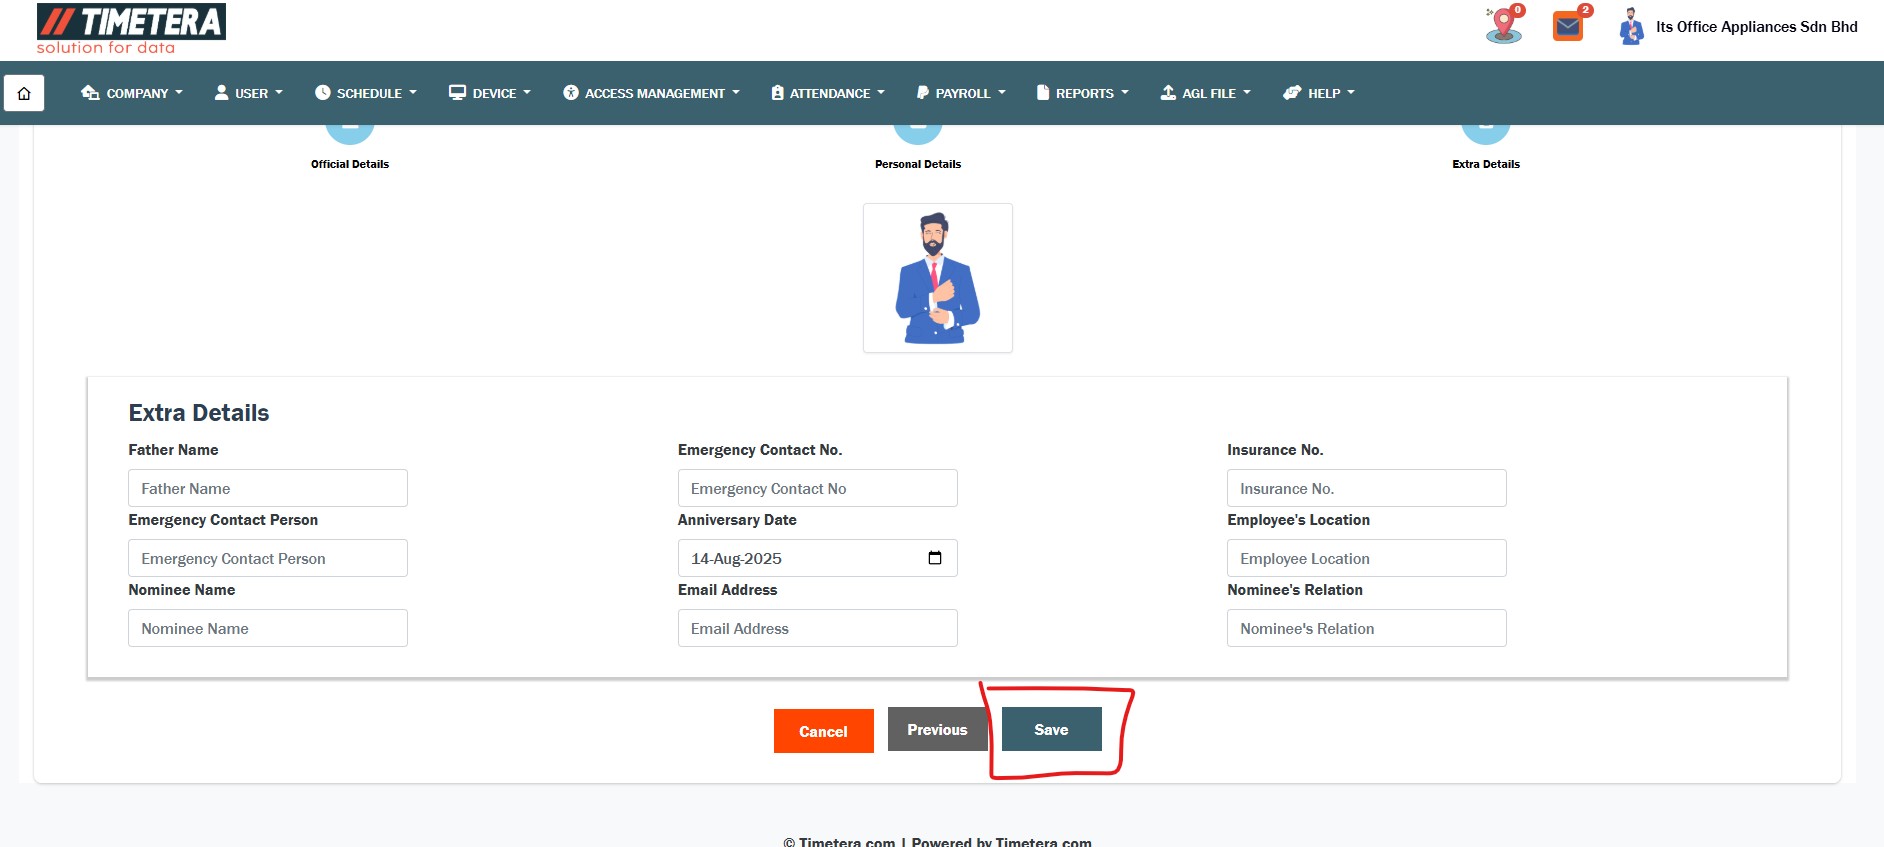
Step 6: Add Extra Details (Optional)
The Extra Details page allows you to input additional information. This step is optional — you can fill it in or skip by clicking Save.
Step 7: Confirmation
Congratulations! You have successfully registered a new user in the Timetera Cloud system.

By following these steps, you can efficiently add and manage users within your organization’s Timetera Cloud account.